Part 2:
Looking after your motorcycles chain:
A quick guide to inspection, cleaning, and adjustment.
How often should I lube my motorcycle chain?
For road bikes, we suggest once a week if you use your bike every day. For off-road/motocross bikes it’s much more regular as the conditions will strip the chains dry. We suggest every ride and certainly after every wash. With any bike you want to ideally apply chain lube and don’t ride the bike for 30 minutes or more. This will give it time to dry in.

Can I use WD40, Spark, Q20 or similar on my motorcycle chain?
The short answer is NO. These products are good if you want to clean chain lube and dirt off your chain. It’s terrible if you want to lube it. It’s so thin that it will fling straight off. If you’re on a road bike it’ll fling straight all over your clothes and your back tyre. Use a proper chain lube. It comes out of the can thin, penetrates the chain and thickens out as it dries on.
How do I know if I need to change my chain?
If you’re out of adjustment, it is a general rule that you need to change your chain. Also if you can pull your chain off the rear sprocket and there’s a gap it’s time to change. Fitting a good chain onto old sprockets is asking for trouble.
Follow your bike manufacturer’s specifications for both chain tension and how to ensure proper chain alignment.
Chain replacement:
While replacing a chain is not all that complicated, having the chain replaced by a trained professional is often a very good idea. Master link installation is absolutely critical and securing the master link can be accomplished by riveting (requiring special tools), screw type master link or clip-type. Installing the Z-Rings and lubricating the pins goes along with proper maintenance.
HOW OFTEN SHOULD CHAINS BE INSPECTED AND ADJUSTED?
Depending on how aggressively you ride, chains should be inspected every 500-800 kilometres, or roughly twice a month.
Dirt Bikes and Quads, just about every ride…
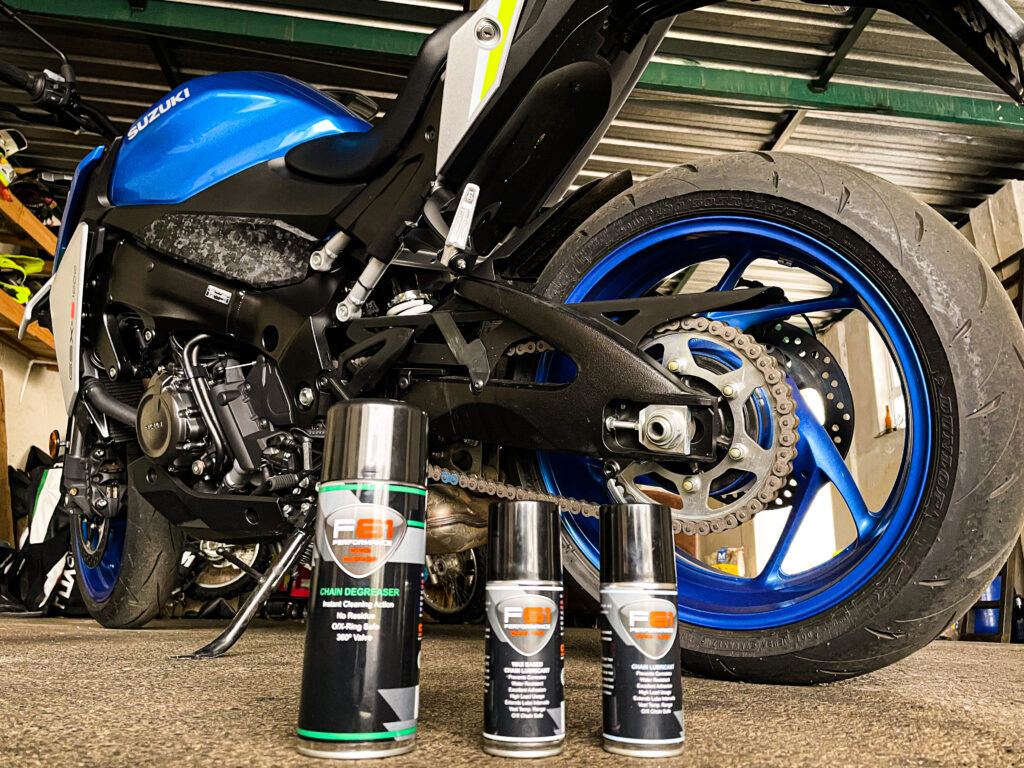
WHAT ITEMS WILL I NEED ON HAND FOR CHAIN MAINTENANCE?
Keep the following items on hand:
- Various spanners.
- A soft brush, or, simpler, your other halfs toothbrush.
- An O-ring friendly chain cleaner (if, like most chains, yours is of an o-ring, Z-Ring type.)
- O-ring friendly chain lubricant (again, if applicable.)
- A new cotter pin (when adjusting the chain tension.)
- Rags (for wiping grime off the chain.)
- A rubber mallet (optional.)
- A rear wheel/paddock stand (optional.)
- A tape measure (optional.)
HOW TO INSPECT A MOTORCYCLE CHAIN
Using a tape measure (or visual estimation, if necessary), grab the chain at a point halfway between the front and rear sprockets, and pull it up and down. The chain should be able to move roughly two and a half centimetres up and the same down. If your motorcycle is on a rear stand or centre stand, note that the swingarm will drop if the wheel is lifted from the ground, which will affect the rear geometry and the tension in the chain; compensate accordingly, if necessary, this is generally why a rear paddock stand is preferred as it will essentially keep the chain under the same tension as though the wheel were on the surface carrying its normal load and allowing for more accuracy – for road bikes, get yourself a paddock stand, they really aren’t that expensive.
Because motorcycle chains can stiffen in certain spots and stay pliable in others, it’s important to roll the bike forward (or turn the rear wheel if it’s on a stand) and check all sections of the chain. If it moves more than about 2.5cm, the chain will need tightening, and if it’s too tight, loosening will be in order; this is outlined in subsequent steps. If individual chain links are too tight, the chain might need replacement.
NOTE: DON’T GET YOUR FAT FINGERS ANYWHERE NEAR THE SPROCKETS.
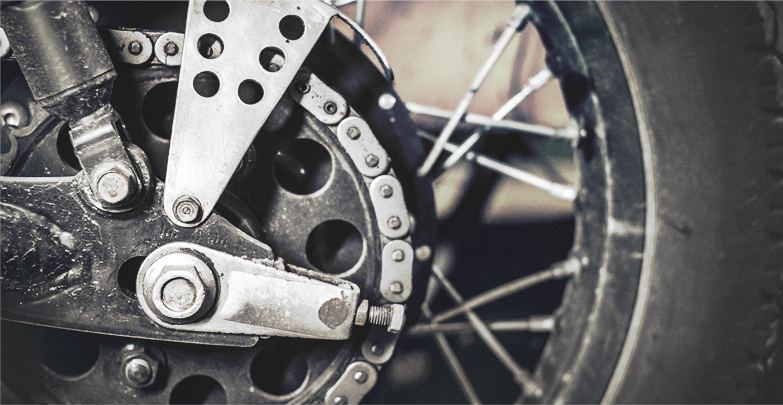
INSPECT YOUR MOTORCYCLE’S SPROCKETS
Front and rear sprocket teeth are good indicators of maladjusted chains; inspect the teeth to make sure they are meshing well with the chain. If the sides of the teeth are worn, chances are they haven’t been mating well with the chain (which probably shows corresponding wear.) Wave-shaped, (the peaks are rolled over), teeth wear is another irregularity that might suggest that you need new sprockets. It is essential to replace both your front and rear sprockets when replacing your chain as worn or misshapen sprocket teeth will destroy your brand new chain very quickly.
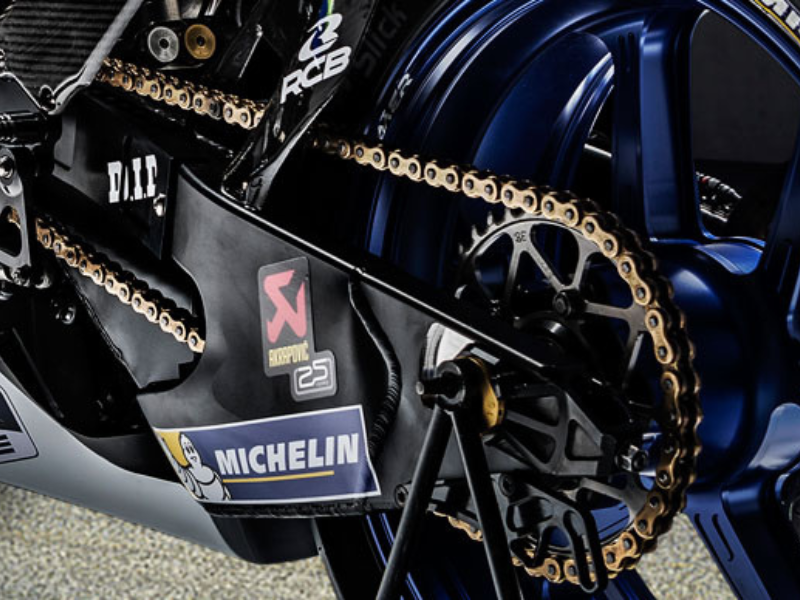
CLEAN YOUR MOTORCYCLE CHAIN
Whether or not your chain needs adjusting, you’ll want to keep it clean and well-lubricated. Most modern chains have some kind of seal which uses rubber components and are sensitive to certain solvents. Make sure you use an o-ring or similar approved cleaning agent when you spray the chain and sprockets or use a soft brush to apply the cleaner.
WIPE OFF EXCESS GRIME
Next, you’ll want to wipe off the excess grime using a rag or towel, which will create a clean surface that’s friendlier to lubricants. Be sure to thoroughly reach all the sprocket teeth and chain links by rolling the rear wheel (or the entire bike, if it’s not on a stand.). Be extremely careful if you decide to use a high pressure washer to clean your chain as they can cut through or blow the rubber seals out and significantly shorten the lifespan of your chain – it is advisable not to use high pressure cleaners on your chains
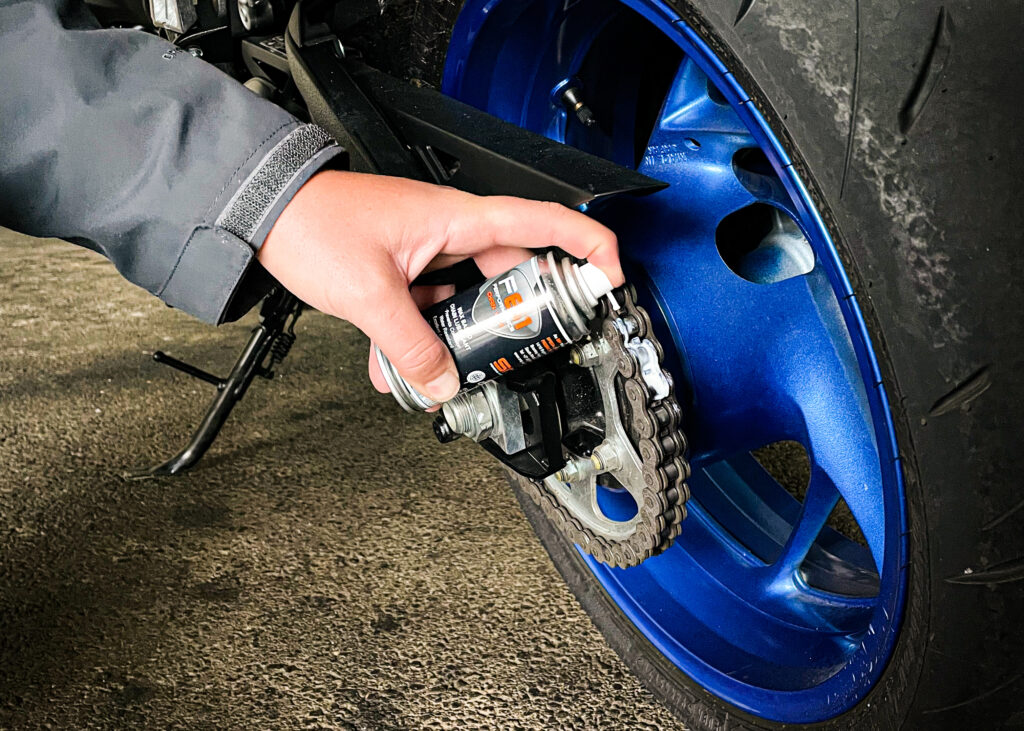
LUBRICATE YOUR CHAIN
While rotating the wheel, evenly spray a layer of lubricant across the chain as it runs along the sprockets. Be sure to also spray the bottom of the rear sprocket, where the lubricant can spread across the chain from the inside using centrifugal force, and penetrate the entirety of the chain. Wipe off excess lubricant with a rag.
ADJUST CHAIN TENSION, IF NECESSARY
Chain tension is generally determined by the distance between the front and rear sprockets, and most bikes have index marks on the swingarm to help with alignment.
Bikes have differing chain adjustment mechanisms, and in general, the rear axle and wheel move forward or backward in order to set chain tension. Single-sided swingarms usually have an eccentric cam which sets the position of the rear axle; other more traditional designs feature hexagonal-headed inner nuts to move the axle and an outer one to lock and unlock it.
When chain tension is properly set, it should be able to move up and down between approximately 1 inch (2 and a bit CM’s). Make sure that the index marks on the swingarm correlate.
TIGHTEN THE REAR AXLE
Once you’ve moved the rear axle, make sure that both sides are aligned perfectly before tightening, since not doing so can prematurely wear both the chain and the sprockets. Evenly tighten the axle nut(s) and replace the cotter pin with a new one.
More on types of chain next week.
www.poweredbyautocycle.co.za